3D workflow · 11 min read
A Repeatable Image Workflow for 3D Artists and Material Designers
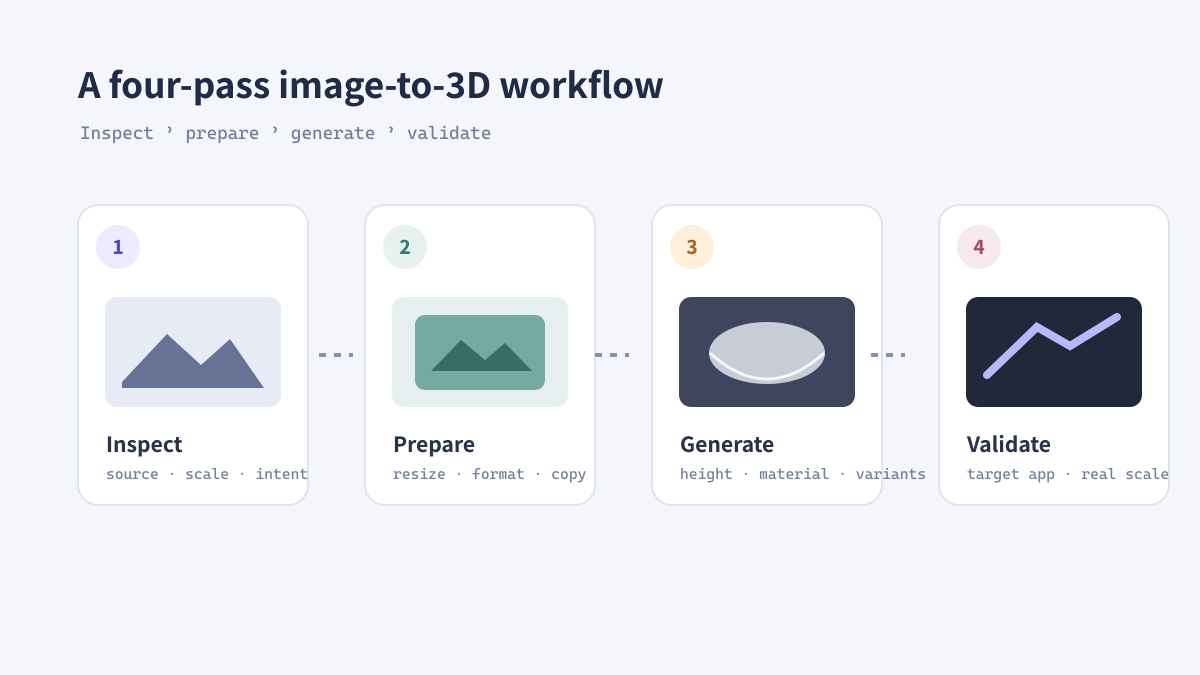
A good 3D image workflow reduces avoidable decisions. Keep a source layer, make purpose-specific derivatives, generate height data deliberately, and test the result at the scale where it will be used. This approach works for materials, reliefs, product visualization, and 3D printing.
Separate source assets from delivery assets
Start with a folder that contains untouched sources and a second area for exports. The source can be a camera image, scan, render, or illustration. Delivery assets are resized, converted, compressed, or altered for a specific tool and should never replace the source by accident.
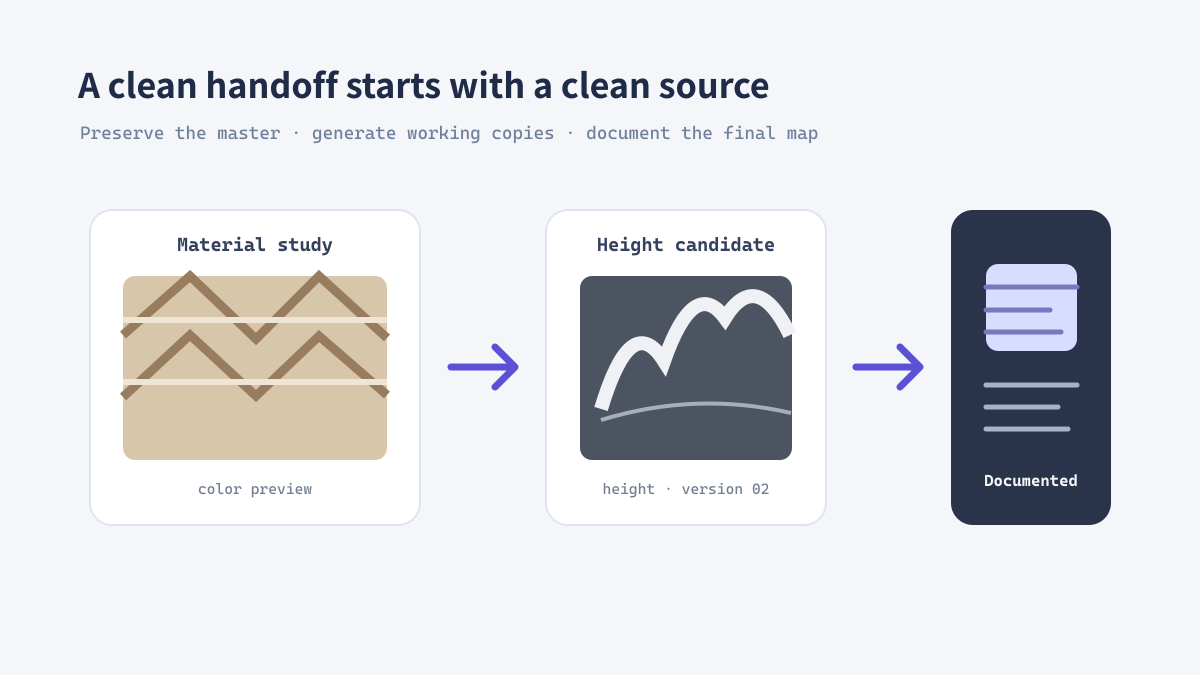
Use descriptive names such as oak-wall_source.png, oak-wall_height_v02.png, and oak-wall_preview.webp. Version numbers make it possible to compare candidates without relying on memory.
Illustrative workflow image for this guide.
The four-pass workflow
Running these passes in order prevents a common mistake: polishing a map that will later be discarded because the source ratio or output scale was wrong.
- Inspect: remove unusable sources and decide the final physical or screen size.
- Prepare: resize, crop, and convert copies to a practical working format.
- Generate: create a height map or other derived texture and keep multiple candidates.
- Validate: test the asset in the target renderer, 3D package, CAM preview, or device.
Illustrative workflow image for this guide.
Real example: a tileable material study
For a material study, begin with a well-lit reference and decide whether the goal is color, relief, or both. Create a display-sized WebP preview for the project board, then use the original or a clean working copy for height-map generation. Compare the relief under a neutral light in Blender rather than judging it from the 2D image alone.
If the surface will repeat, inspect the borders early. A beautiful center can still reveal a visible seam when tiled.
Illustrative workflow image for this guide.
Deliverables that are easy to use
- Include a color preview, height map, dimensions, and intended physical scale.
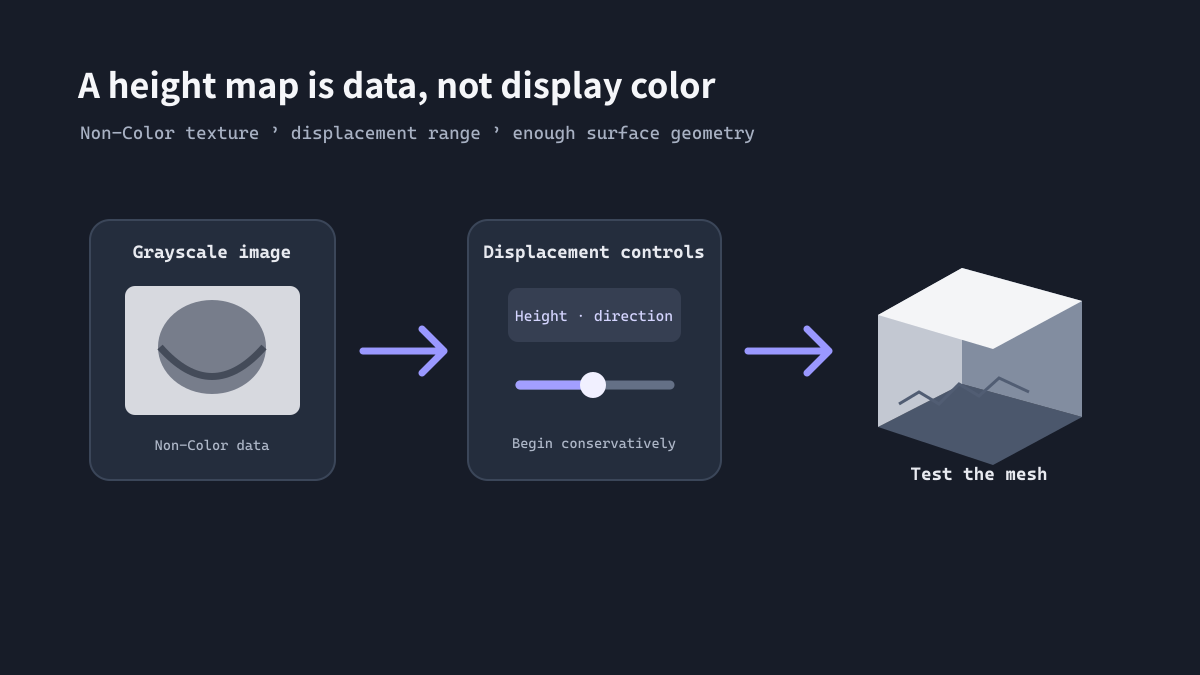
- State whether black is low or high and whether the map should be inverted.
- Provide a lightweight preview for review and a full-resolution source for production.
- Document the software, export settings, and version of the selected candidate.
- Keep the original source beside the final files for future revisions.